HOW WE GET EXACTLY WHAT YOU’RE LOOKING FOR IN OUR FIVE STEP DESIGN PROCESS
The master bath you moved into ten years ago isn’t doing it for you anymore. You’re done staring at outdated photos that haven’t sparked joy whenever you walk by them for months. Maybe it’s the stairs leading down to that unfinished basement that irk you every time you walk down them.
Making the decision to hire design help can feel like a lengthy and expensive endeavor. I have clients tell me time and time again how nervous they were to make the initial decision to hire help. I completely understand the initial reasons that set people back from hiring outside design assistance.
My team thought it would be wise to outline our Five Step Design Process that we walk through with every client we start with. Whether you’re simply perusing this site for design inspiration, or interested in using our services, we want this post to be a useful resource for all our online visitors.
1. STEP 1: PROJECT INQUIRY
Submit a project inquiry on our contact page. We’ll send you an overview of our design services & some guidance regarding our fees. If you like what you see, we’ll set up a phone consultation to find out more about your design dilemmas and goals for your project. This first conversation is about determining if we’d like to work together.
STEP 2: SITE VISIT & PROPOSAL
We’ll meet with you at your space to review your current interior and discuss the changes that you are considering. We’ll talk about your style aspirations and gather answers to questions about how we can best collaborate on your space.
After this meeting, we will provide you with a proposal of the design services that we feel would work best for your project and the fees associated with them.
You will be able to approve your proposal via our online portal and once your deposit has been received, we will begin to create your Custom Inspiration Board.
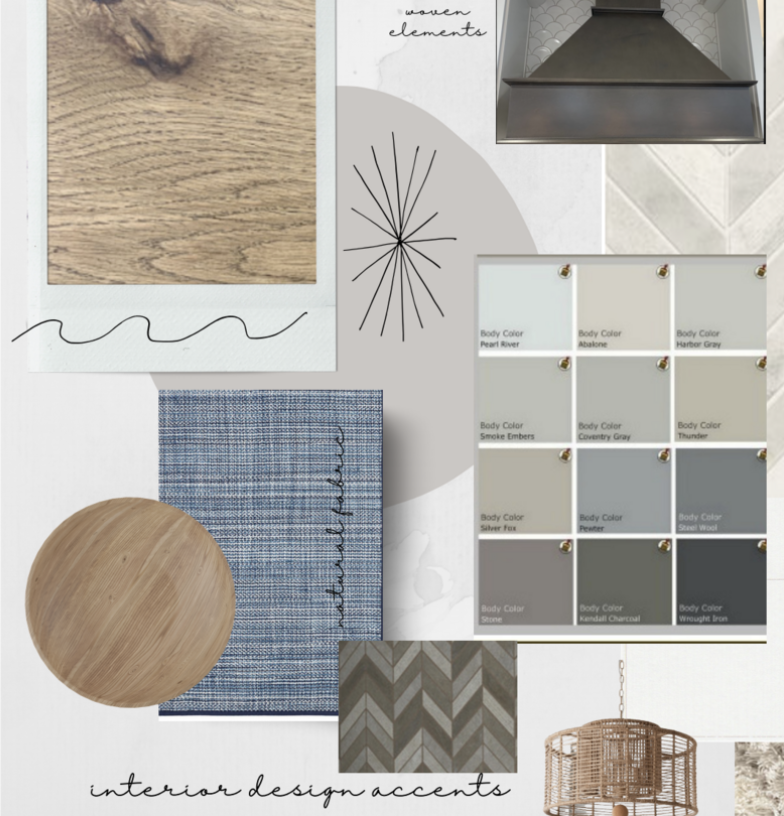
STEP 3: INSPIRATION BOARD PRESENTATION
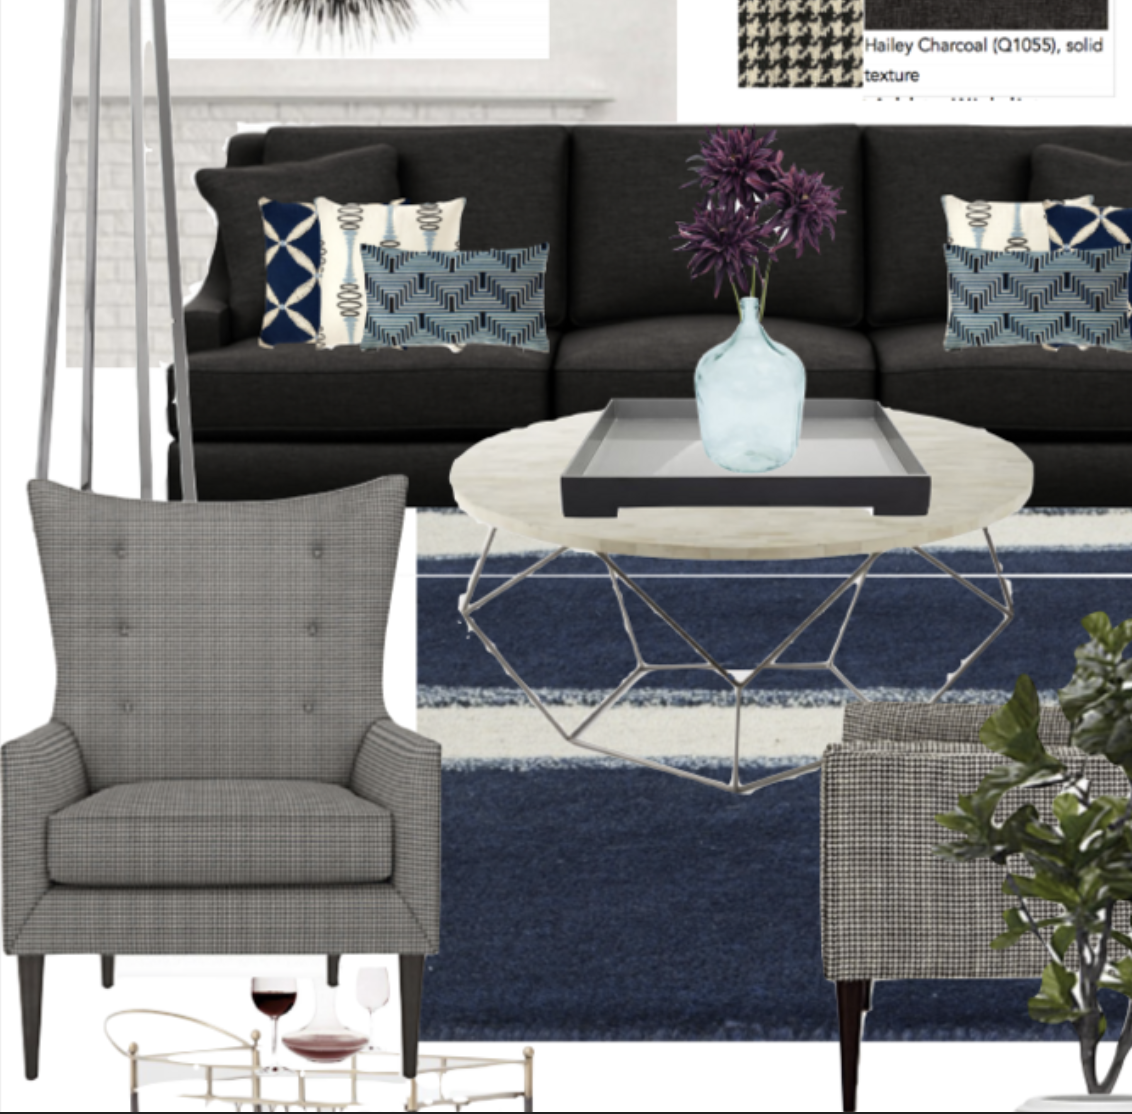
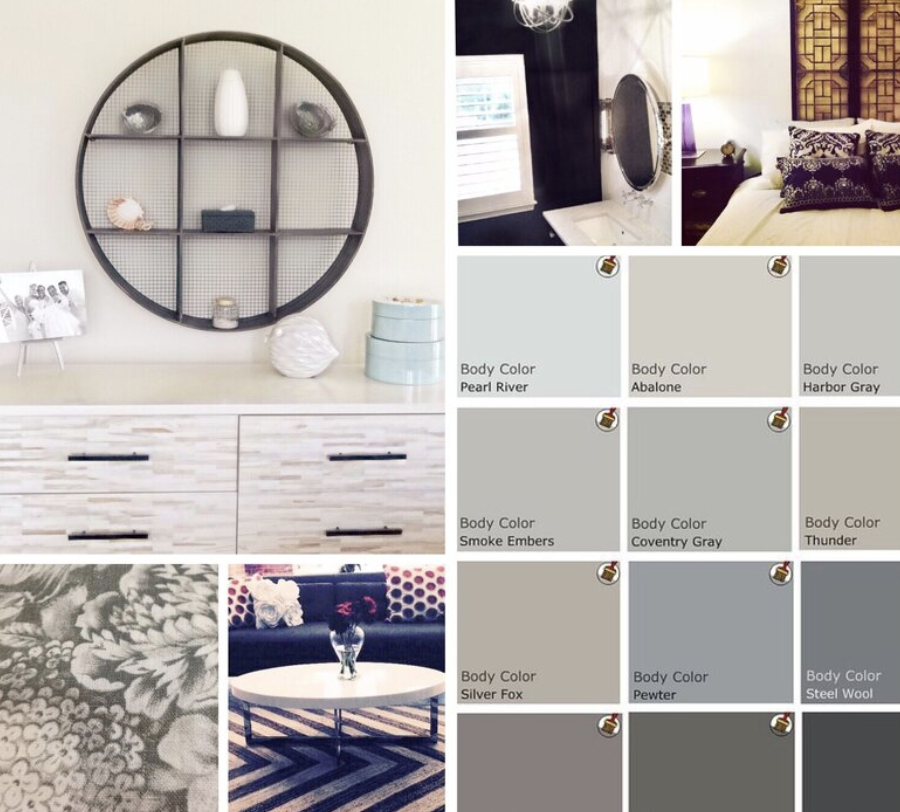
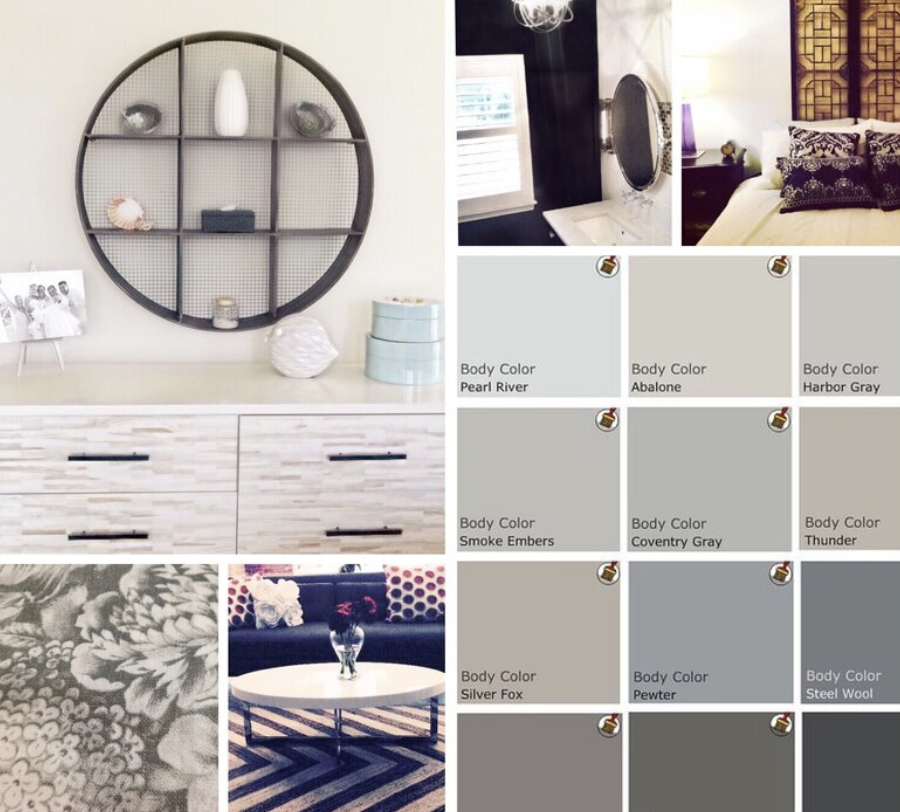
We gather lots of great information from our visit to your space. We pair this with our own special secret sauce of creativity to create a visual inspiration for your rooms. Using images, paint palettes and fabric samples, your Custom Inspiration Board will be presented to you and will establish the design direction for our project.
Based on your feedback from our meeting, the design direction will be further tweaked and/or approved and we will then create your final design plan. We’ll also take measurements and collect any other information that we may need at this time.
STEP 4: SOURCING & PURCHASING
Based on your approved final design plan, we will provide you with detailed specifications for any items that you have selected. Once approved, we will order these selections on your behalf. We also hunt and gather other goodies that you’ll need to make your space sing.
If your project is a full scale renovation, we’ll be working diligently behind the scenes along with your contractor to make sure that your materials/ selections are on site for installation, based on the project timeline.
STEP 5: INSTALLATION & ACCESSORIZING
Once all of your furnishings have arrived, we will oversee the placement of them in your space. We believe that the finishing touches complete a room. We love when we can surprise our clients with a little room “reveal”!
From Our Home to Yours
WElcome to the LH INTERIORS BLog
We want to share every detail with you. Each of our stories are meaningful recaps of the design work we've done for our clients. Read away!
Many of our clients have sentimental pieces they love, but need help tying into their space. Here’s our take on where to start.
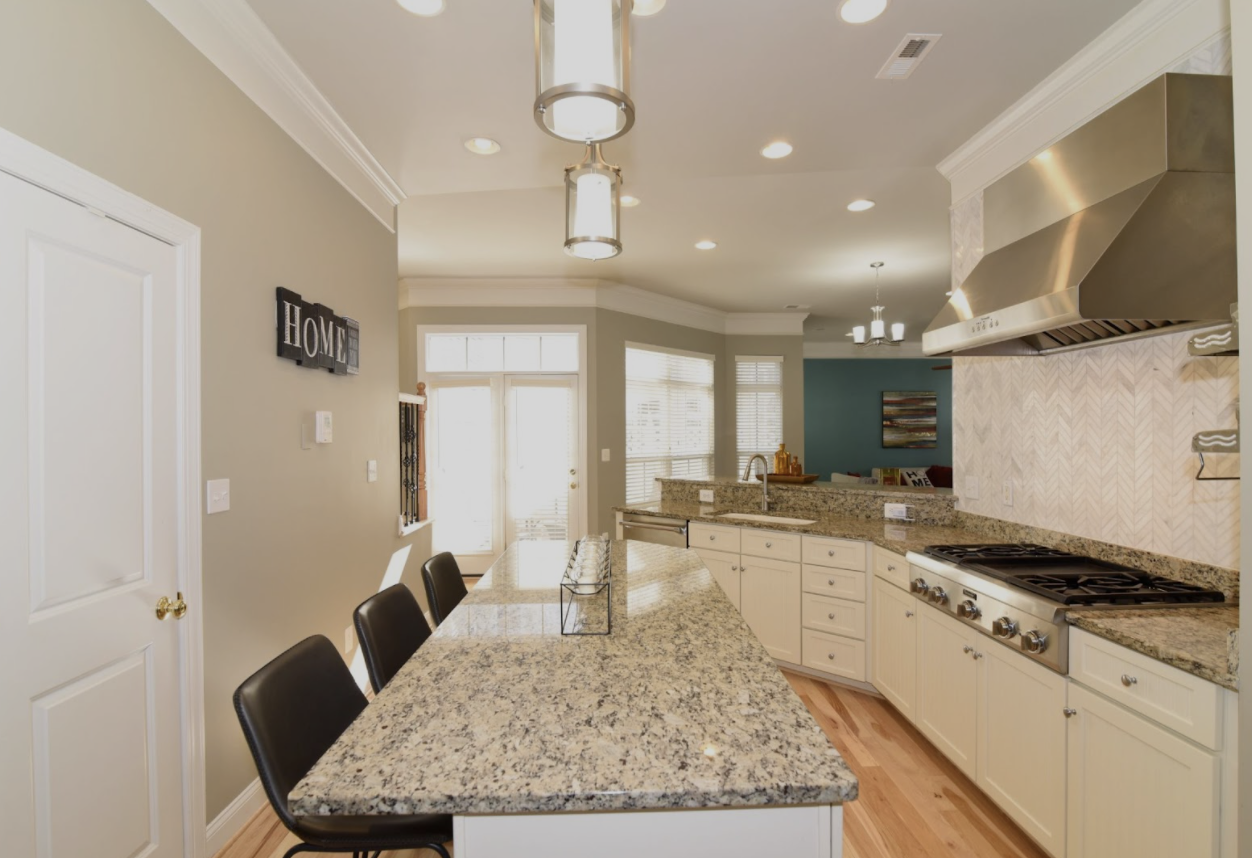
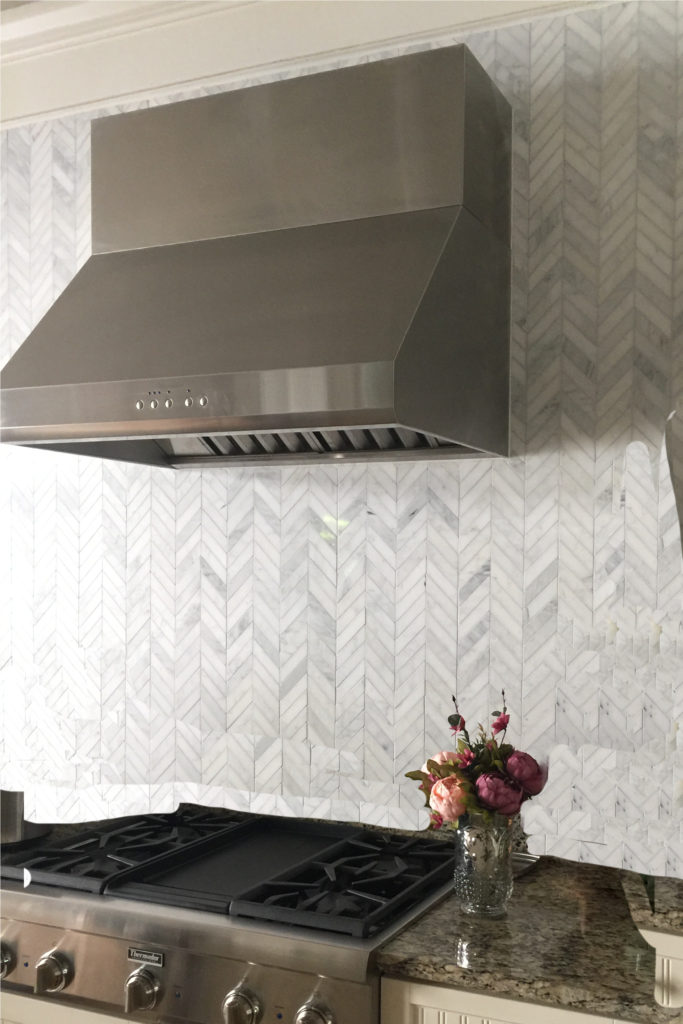
One of our favorite places to spice things up is in the kitchen. It’s the heartbeat of a home and for these clients a full rehab wasn’t in the cards. We worked with them to create a wishlist and helped prioritize the elements that would make the kitchen work best for their family. In this case, we kept the existing nets and countertops knowing that they could be replaced at a later date. We recommended a timeless backsplash and put their budget into high-end professional appliances (since our client loved to cook and wanted to share that experience with her young son and husband).
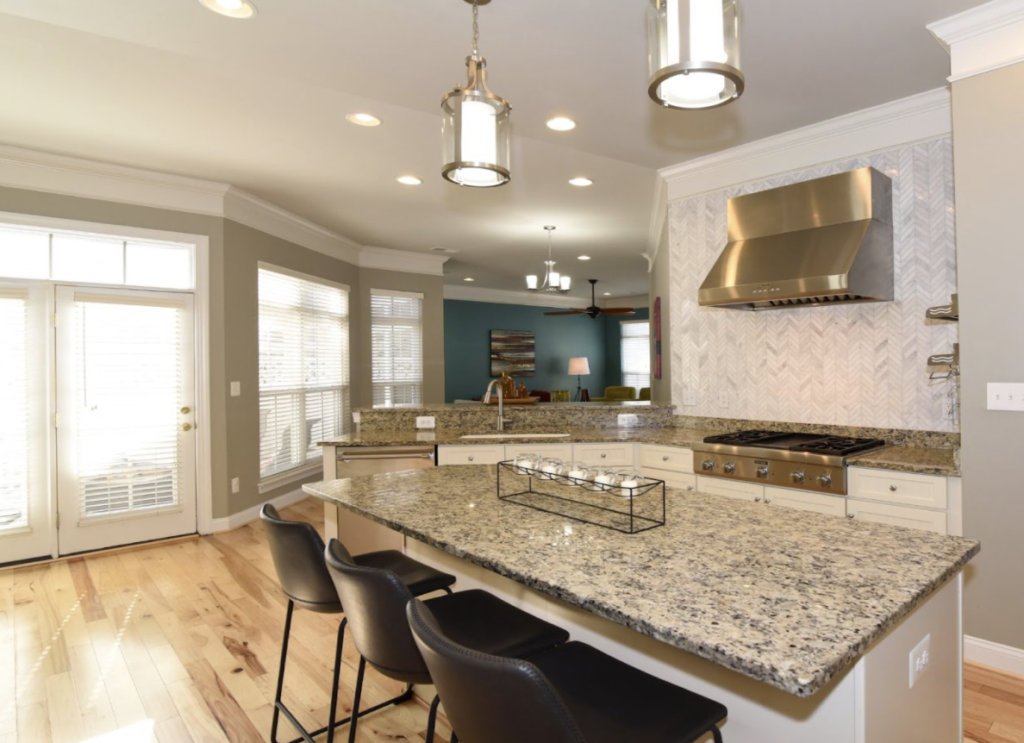
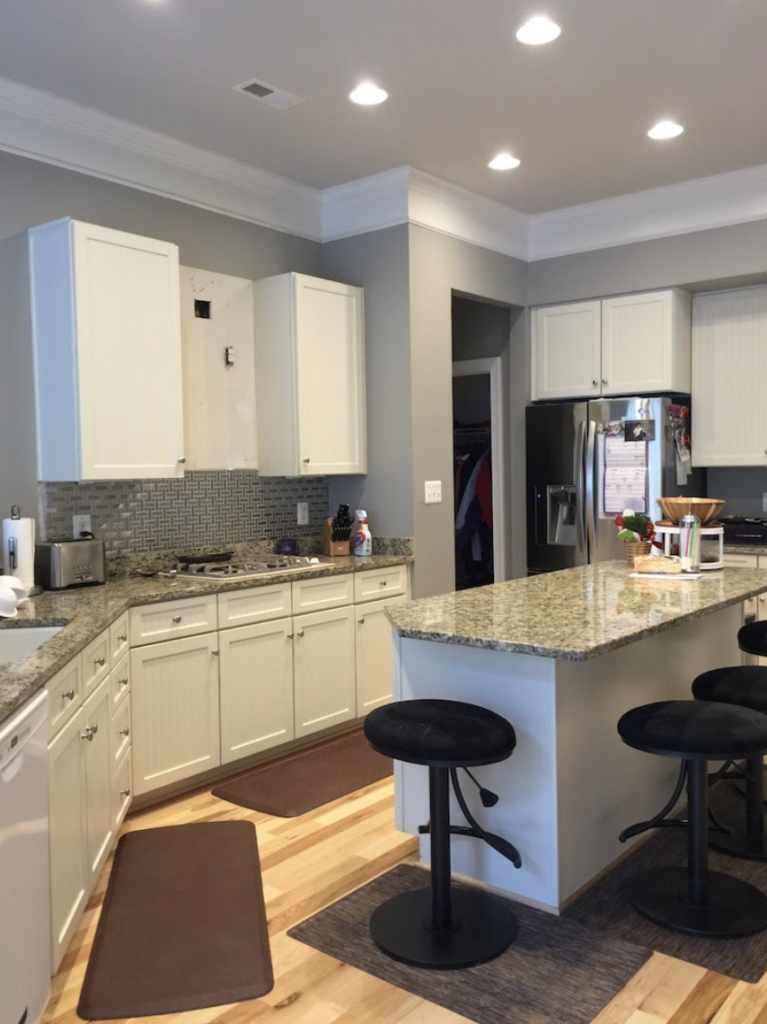
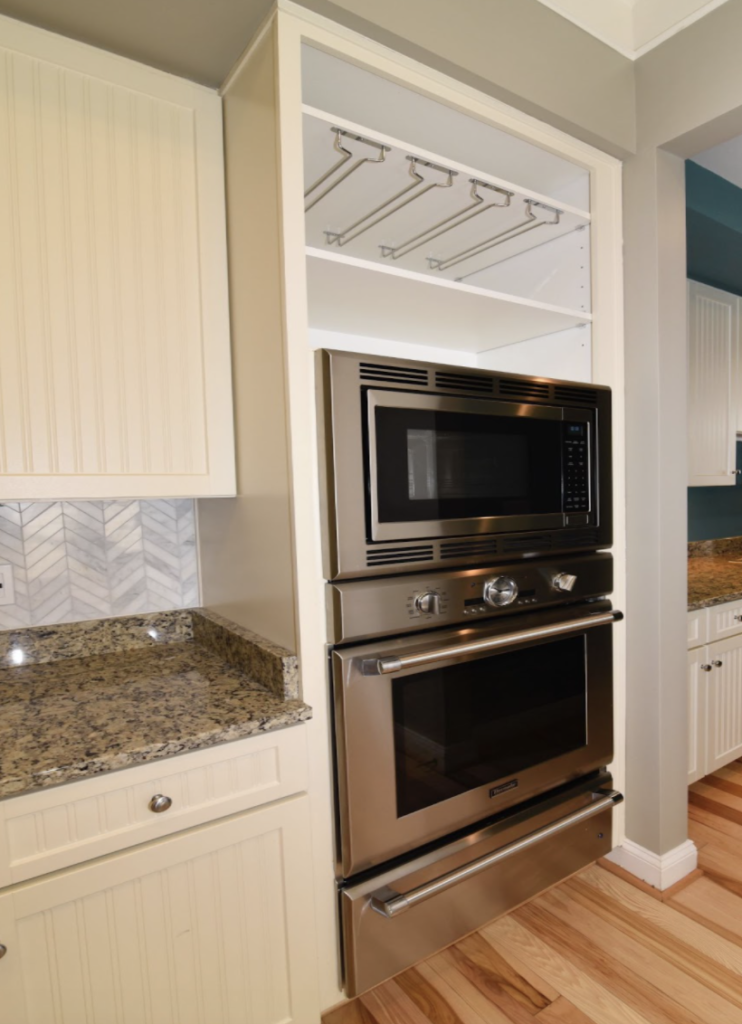
This chevron marble backsplash in this home brought a total timeless refresh to this builder grade kitchen. We removed the microwave and its awkward cabinet from over the original cooktop,added a high powered vented hood with a killer range, installed a fancy fridge and added cabinetry so that it appeared to be built in. Lastly we added a double oven with a microwave so that quick and easy meals were still in the cards.
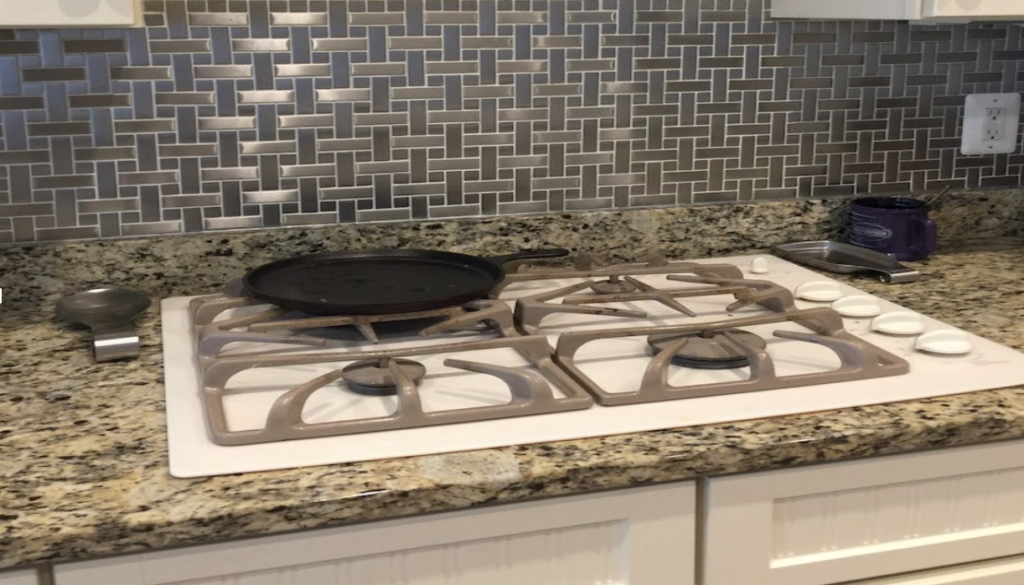
When life had other plans and our client had to relocate unexpectedly out-of-state due to her job, we were informed by her realtor that the updated kitchen sealed the sale of their home before the house even hit the market. With just a few new and “flirtatious” touches to the kitchen, we made this space an ideal sanctuary for its new family.
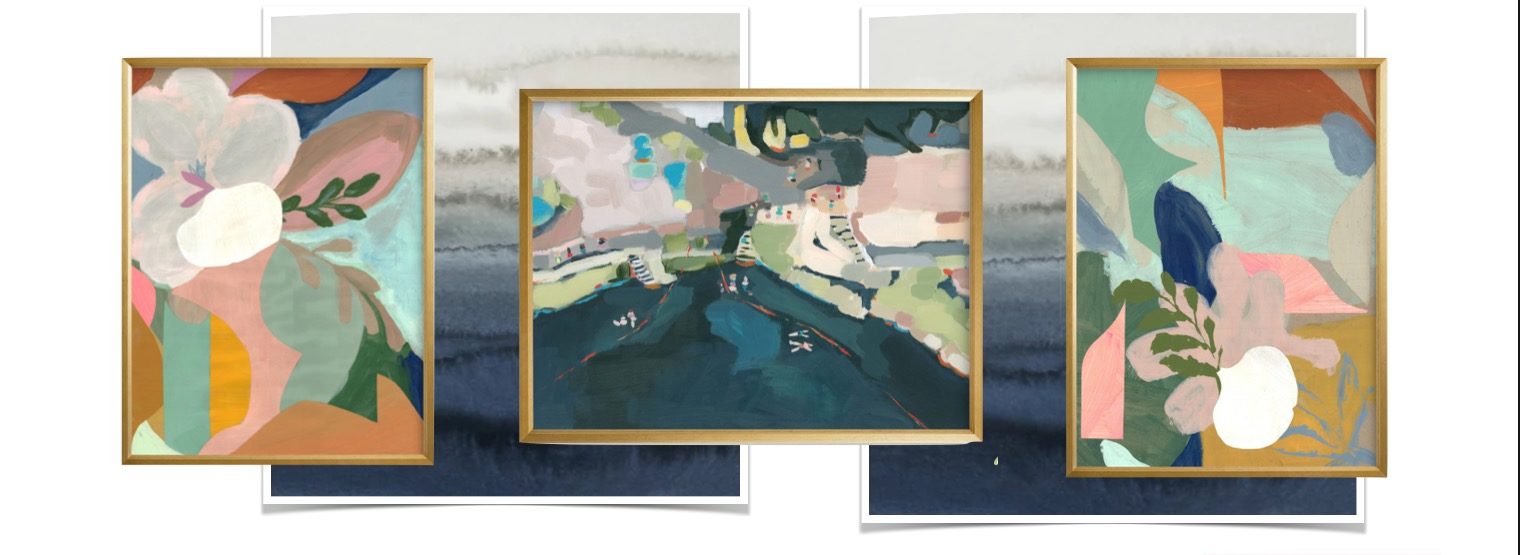
Combining everything you desire in a space is easier than it looks.
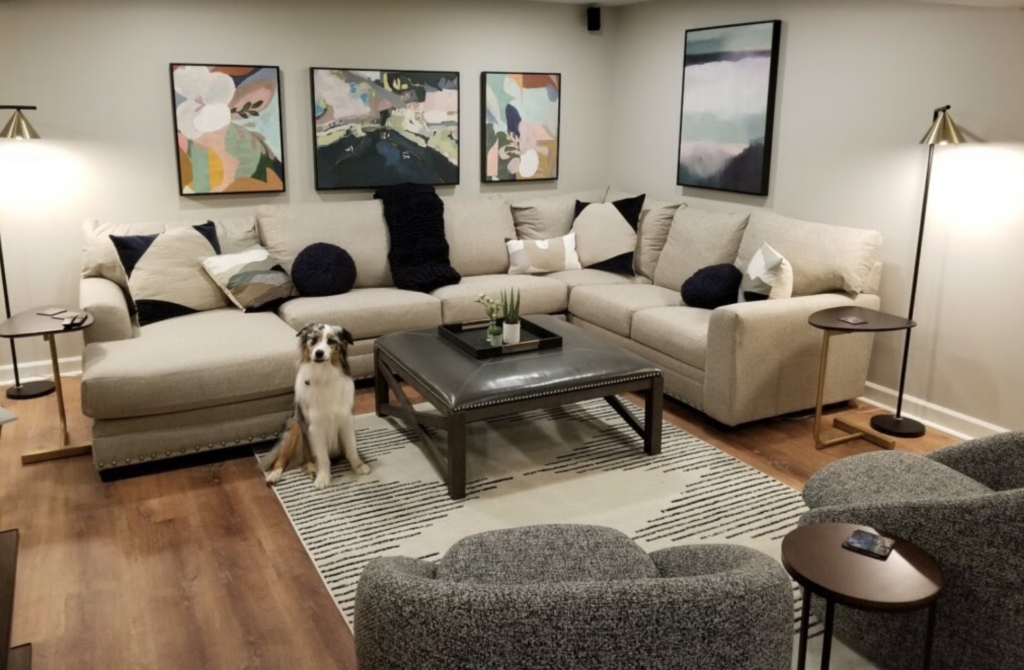
The G family (based out of Vienna, VA) loved to travel. One of their favorite vacations was traveling to Italy and walking through the vibrant markets, looking at local art. Our team gathered art options knowing that color would bring a sense of connection between them and the energy they had embraced there. Looking at the finished project now, the once dated basement has become an oasis for the family to spend time in, reminiscing of past vacations and planning new adventures.
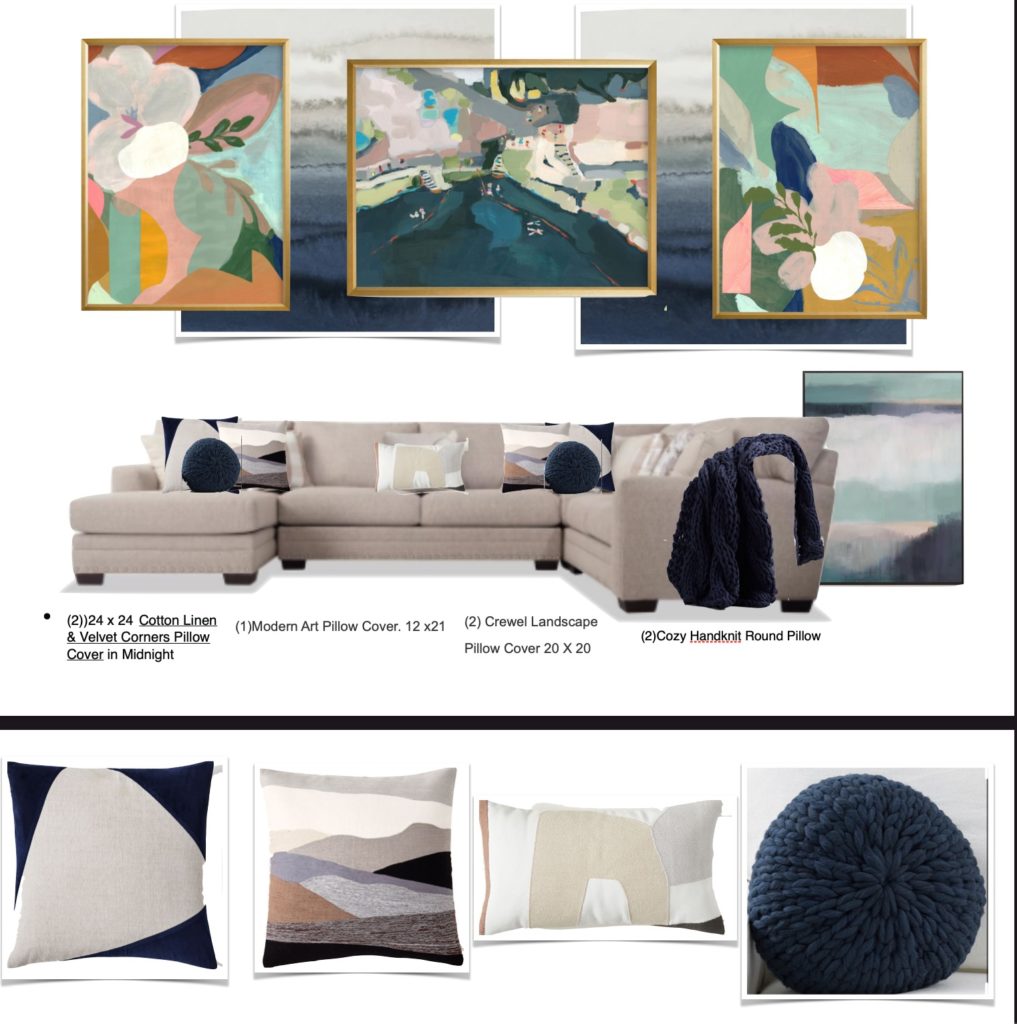
TIP: Art doesn’t have to be expensive, There are lots of options that allow you to customize frames, mats and colors that would work best for you, Our top three faves are minted.com for their support of small artists and their studios, fractureme.com for photos printed directly on glass and framebridge.com because they frame personal mementos for you. This is a perfect way to put your stamp on your space and honor those moments that are special to you.
